
Build Openstack image with Packer on OVH Public Cloud
TL;DR
Packer is a tool from HashiCorp for creating machine and container images for multiple platforms from a single source configuration.
Here we are going to use it on OVH Public Cloud.

OVH Public Cloud
OVH Public Cloud is based on Openstack, so Nova API is available, but OVH also provided a great API to manage all services (including Public Cloud).

Get your credentials
First of all, you need a Public Cloud project, if you haven’t got any available project, go to your Manager to create one.
Now we will you a little command line interface tool : OVHCli (Many thanks to @fredericalix)
When you OVHCli is properly configured you should be able to create new Openstack Credentials on your Public Cloud Project. Here our project is named Quickstart, so we run :
    $  ovhcli cloud project --name Quickstart info
    creationDate: 2016-11-25T20:47:26+01:00
    description: Quickstart
    project_id: 901ea5f3c7074952a3fcf9bb042031be
    status: ok
    unleash: true
Here is our project, now let’s create a user. You can create a user with the following command.
    $ ovhcli cloud project --name Quickstart user create --description MyUser
    creationDate: 2016-11-27T18:51:52.963684+01:00
    description: "MyUser"
    id: 32827
    password: DadGK3dw4bdWUhkd6JbmWmxBRyAe62qX
    status: creating
    username: P5hytt78YZjQ
But you should either use --env option and eval it int bash to create all environment variables you need.
    $ eval $(ovhcli cloud project --name Quickstart user create --description MyUser --env)
    $ env | grep OS
    OS_AUTH_URL=https://auth.cloud.ovh.net/v2
    OS_REGION_NAME=SBG1
    OS_TENANT_ID=901ea5f3c7074952a3fcf9bb042031be
    OS_USERNAME=P5hytt78YZjQ
    OS_PASSWORD=DadGK3dw4bdWUhkd6JbmWmxBRyAe62qX
Packer Builder configuration
With those environment variables, we can now use Packer and the Openstack Provider easily.
We will start with this json file.
    {
    "variables": {
        "ovh_os_username": "{{env `OS_USERNAME`}}",
        "ovh_os_password": "{{env `OS_PASSWORD`}}",
        "ovh_project": "{{env `OS_TENANT_ID`}}",
        "ovh_region": "{{env `OS_REGION_NAME`}}"
    },
    "builders": [{
        "type": "openstack",
        "identity_endpoint": "https://auth.cloud.ovh.net/v2.0/",
        "username": "{{user `ovh_os_username`}}",
        "password": "{{user `ovh_os_key`}}",
        "tenant_id": "{{user `ovh_project`}}",
        "region": "{{user `ovh_region`}}",
        "source_image": "de45f31c-e0a1-43a9-a6b9-0474d938da45",
        "flavor": "vps-ssd-3",
        "ssh_username": "debian",
        "image_name": "Packer Test Image",
    }]
}
Note : We this configuration, we only want to support environment varibles, but you could defined variables on command line, or in a file. See documentation for more details.
Flavor and Source Image
The important things here are flavor and source_image.
A flavor is a Virtual hardware template defining sizes for RAM, disk, number of cores, and so on. We need in Packer to set the flavor name we want to use.
OVH provides a lot of different flavors, SSD based for high disk performance, CEPH bash for high availability disks, enhanced RAM Virtual Private Server and so on.
For testing purpose, we will use VPS-SSD-3, which is unbelievable cheap and in my opinion the best quality/price ratio ever !
The source_image is the operaing system we want to use to build our target image.
Find the source image you need with OVHCli, here we need a Debian Jessie image.
    $ ovhcli cloud project --name Quickstart image search Debian --region SBG1
    - creationDate: 2016-11-07T12:26:17Z
      id: de45f31c-e0a1-43a9-a6b9-0474d938da45
      name: Debian 8
      region: SBG1
      size: 4.8828125
      status: active
      type: linux
      user: debian
      visibility: public
    - creationDate: 2016-11-04T09:35:08Z
      id: e4dee33b-19bc-4977-9807-f2da9dd8414b
      name: Debian 7
      region: SBG1
      size: 4.8828125
      status: active
      type: linux
      user: debian
      visibility: public
Here it is, pick the image ID of Debian 8 image and set it in as value of source_imagein your packer configuration file.
Packer Provisionner
We want to build an Openstack image from a Debian Jessie and install automatically Nginx web server. The provisioners section contains an array of all the provisioners that Packer should use to install and configure software within running machines prior to turning them into machine images.
We want to run following script to install NGINX in the virtual machine image. It should look like.
    sudo apt-get update
    sudo apt-get install -y nginx
Just add following provisionners in the packer file.
    {
        "variables": {
            ...
        },
        "builders": [{
            ...
        }],
        "provisioners": [{
            "type": "shell",
            "inline": [
                "sleep 30",
                "sudo apt-get update",
                "sudo apt-get install -y nginx"
            ]
        }]
    }
Note : Sleep 30s ensures that the virtual machine gets its IP address an so one…
Validate the Packer configuration
Before build your image, validate your file.
    $ packer validate packer.json
    Template validated successfully.
Now we are ready to build our image.
Build the image
$ packer build packer.json
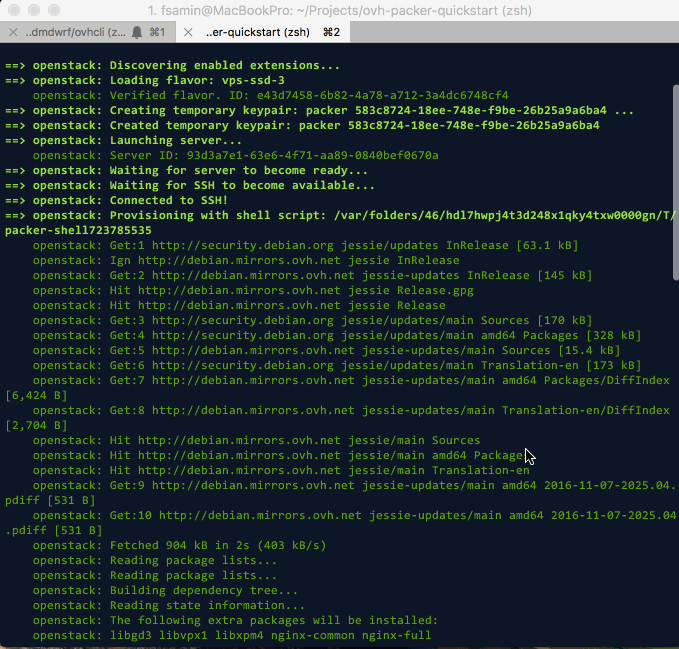
Note : This operation take several minutes.
Now our private image is ready to use. We can see it with OCHCli, searching by name.
    $ ovhcli cloud project --name Quickstart image search Packer --region SBG1
    - creationDate: 2016-11-27T19:37:31Z
      id: 9f2c2116-395d-437d-b135-d232a82233ce
      minDisk: 40
      name: Packer Test Image
      region: SBG1
      size: 1.9411011
      status: active
      type: linux
      user: debian
      visibility: private
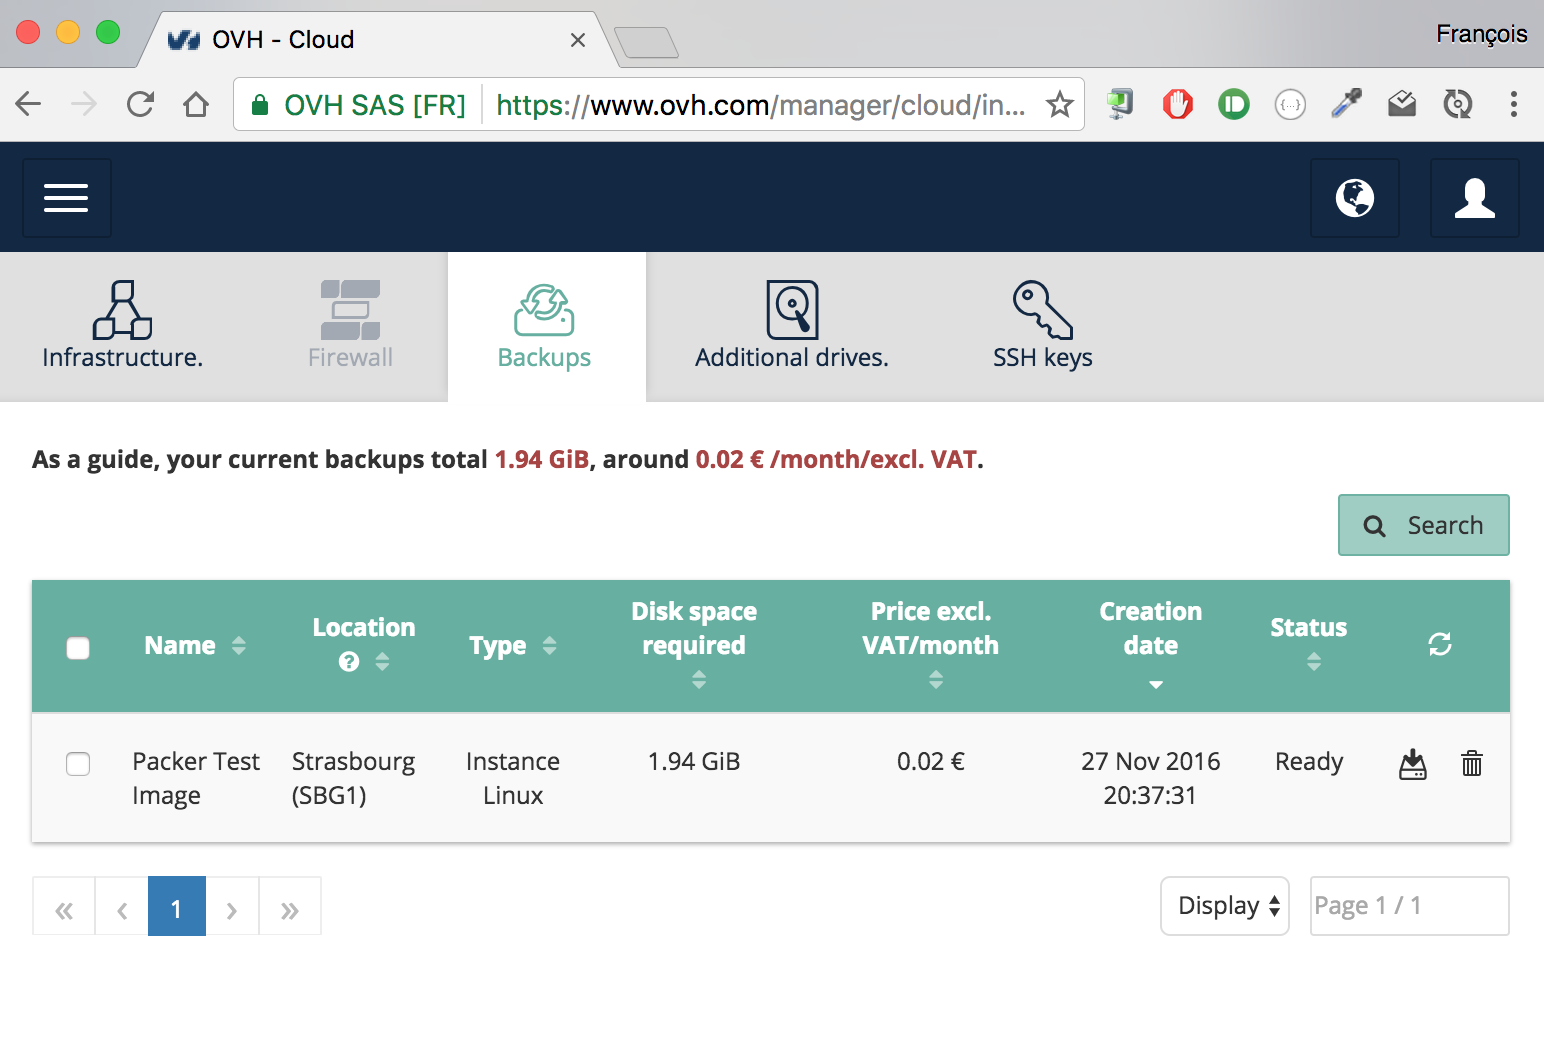
You can also see it in the Web UI OVH Manager, in the snaphot sections.
Deploy the image
Let’s deploy it with OVHCli
$ ovhcli cloud project --name Quickstart instance create MyServer --image "Packer Test Image" --flavor vps-ssd-3 --region SBG1 --sshKey <yourkey>
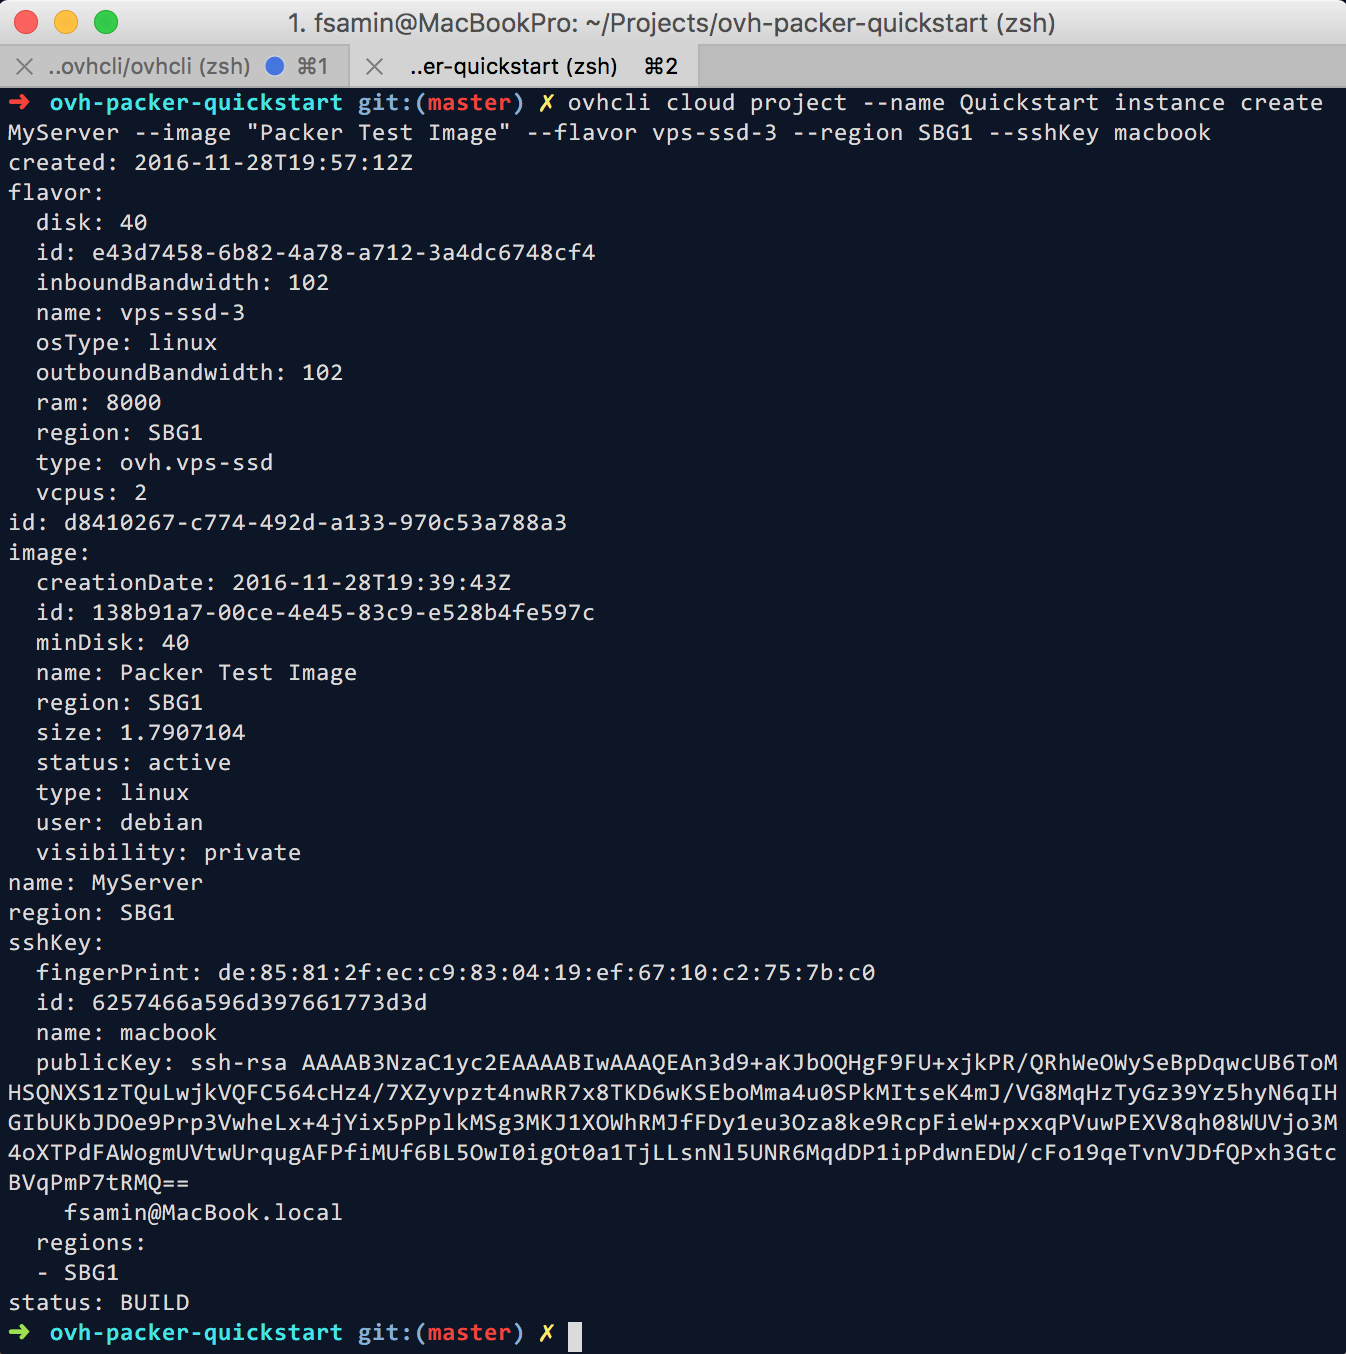
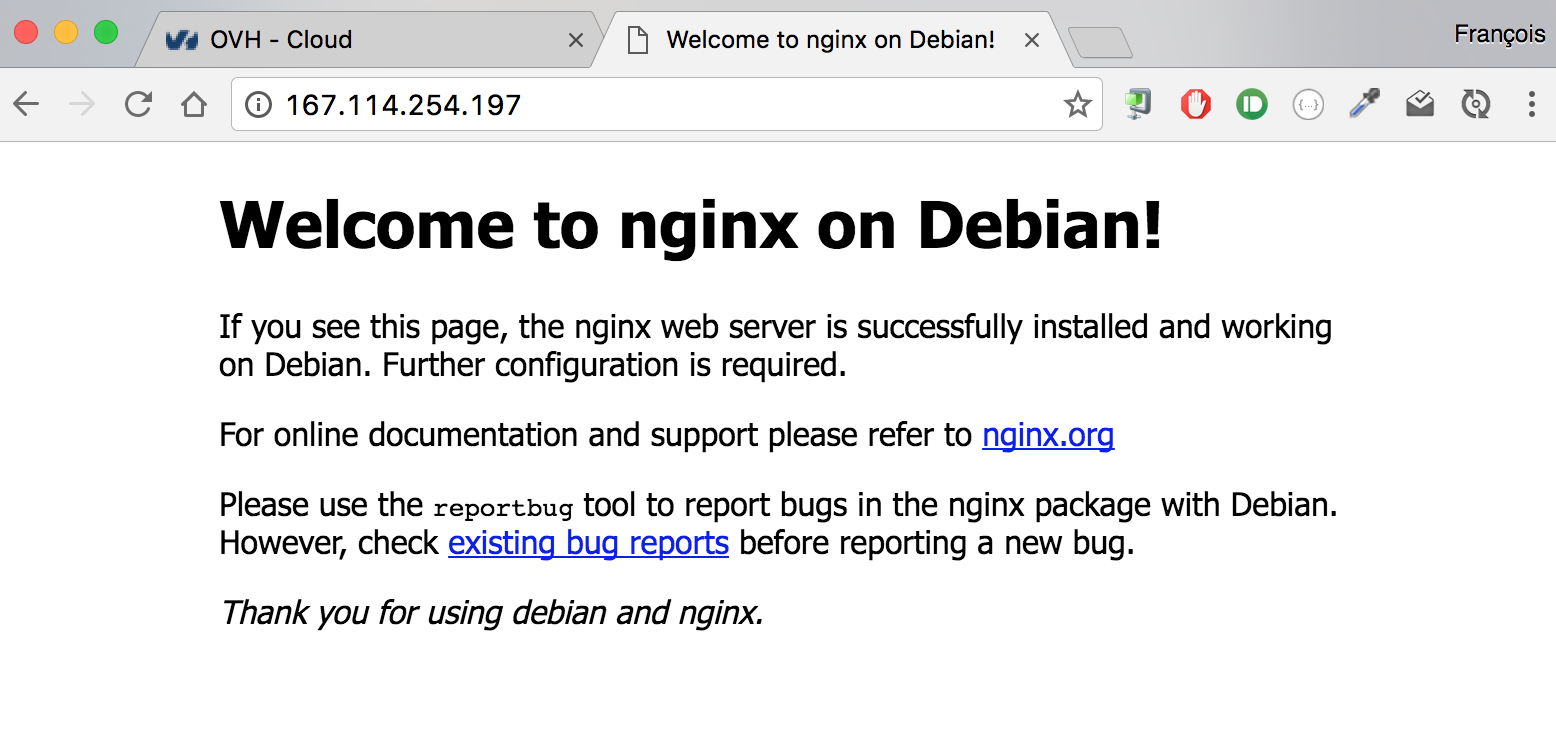
After a few minutes, your instance is ready.
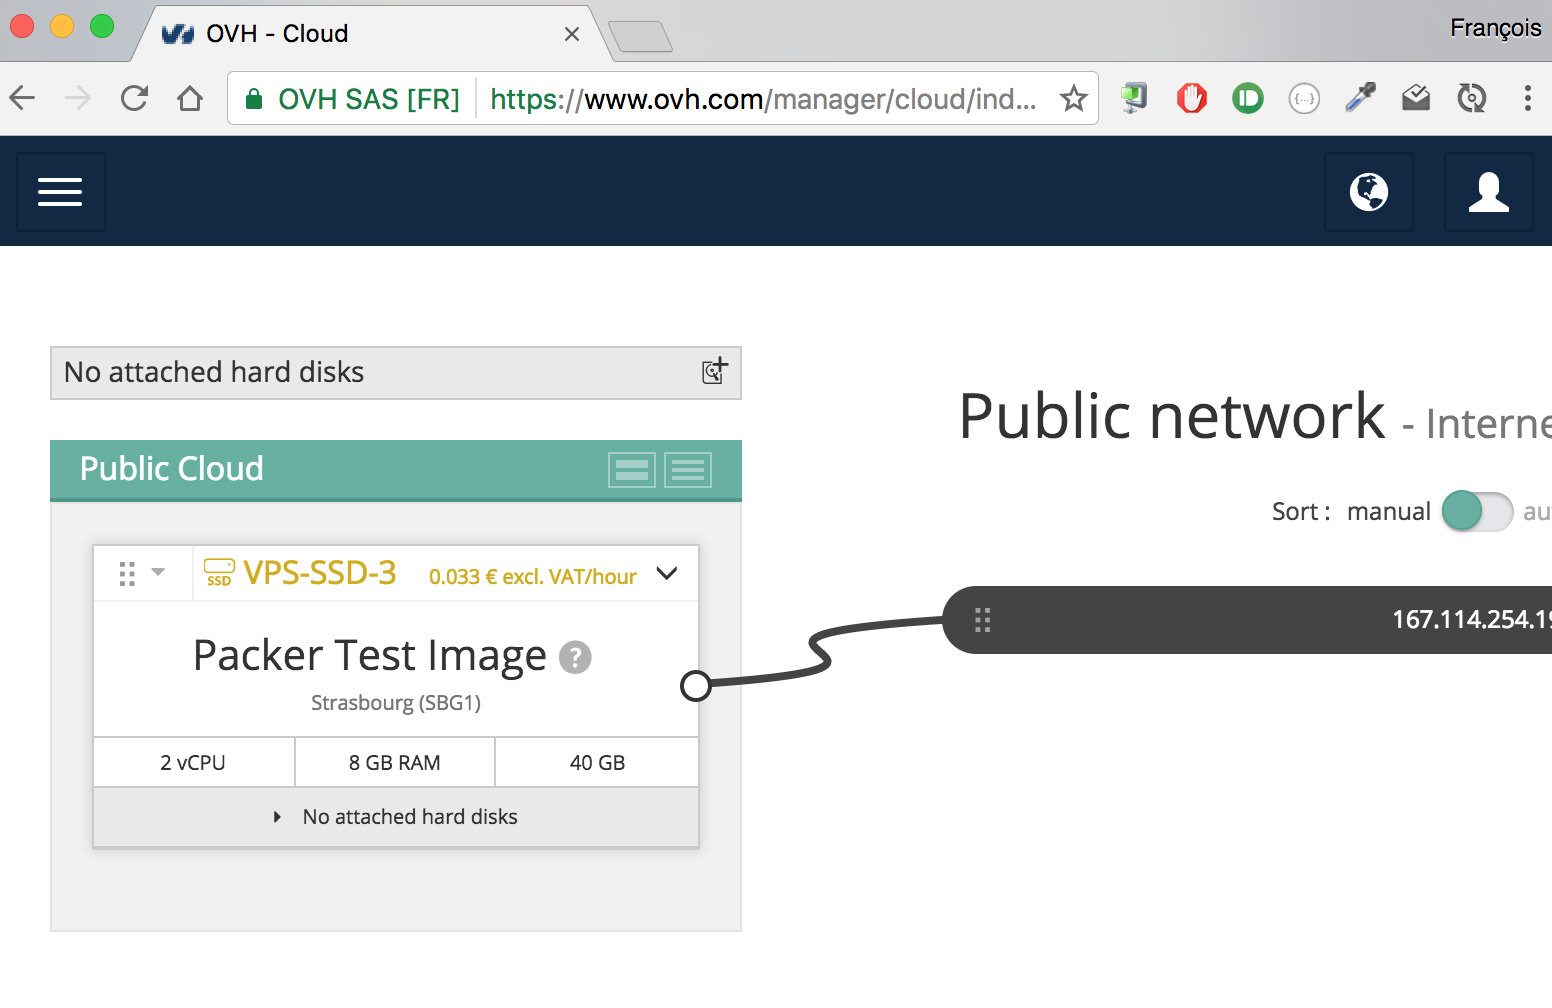
And Nginx is up and running
Conclusion
Packer is great to build Openstack image, but it’s bigger when you decide to build your image with multiple builders. Let’s imagine building your Application image as an Openstack image and a Docker image with a single packer configuration file…
Links
- Packer - https://www.packer.io
- OVH Website - https://www.ovh.com
- OVHCli on Github - https://github.com/admdwrf/ovhcli